
How to Lace Dress Shoes: The Complete Guide for a Polished Look
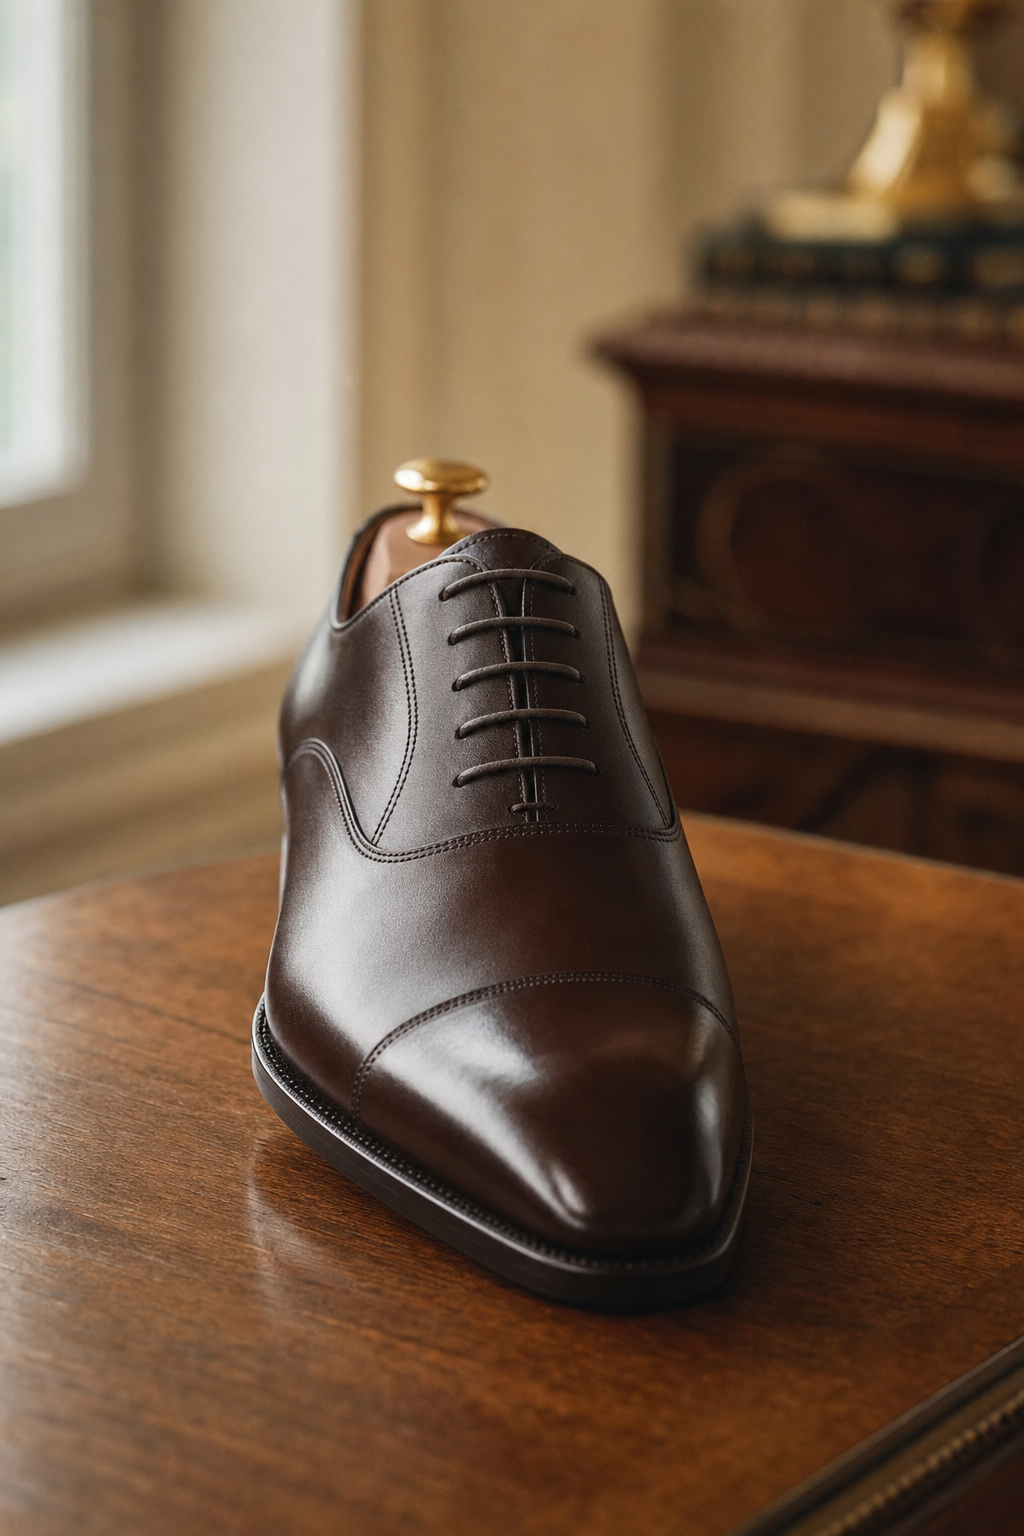
The way you lace your dress shoes is the smallest detail that makes the biggest difference. A clean straight bar lace on an Oxford tells the room you pay attention. A sloppy criss-cross with a crooked bunny-ear knot tells the room you didn’t bother. The good news: getting it right takes five minutes and one read-through of this guide.
For brand owners and footwear buyers reading this: the shoelace is part of your product. A well-made shoe shipped with cheap, fraying laces and a haphazard factory tie is a return waiting to happen. This guide covers everything — from lacing methods to lace materials to knot techniques to cleaning and replacement — so your customers put their best foot forward, and so does your brand.
Why Shoelaces Matter More Than You Think
A Small Detail, a Big Signal
Clothing communicates before you speak. A suit says “I prepared.” A watch says “I value time.” And shoelaces? They say “I care about the details” — or the opposite.
Think about the last time you noticed someone’s shoes. You probably noticed the leather first, then the silhouette. But if the laces were frayed, the knot was crooked, or one side was visibly tighter than the other, that image overwrote everything else. The brain processes asymmetry and disorder faster than it processes quality — which means bad lacing can undo a $500 pair of shoes in half a second.
The First Impression Your Shoes Make
At a job interview, a wedding, a client dinner — your shoes are in the line of sight every time you stand, sit, cross your legs, or walk to the bar. They’re the most consistently visible part of your outfit after your face and shirt. And on a shoe, the laces are the focal point. They sit dead center, drawing the eye up from the toe to the vamp.
A neatly laced shoe with a flat, horizontal knot telegraphs meticulousness. A wrinkled lace with a vertical bunny-ear knot telegraphs haste. Same shoe. Different person.
Shoelaces Through History
The shoelace is not a modern invention. Archaeologists have found rawhide and hemp bindings on footwear dating back to 3,500 BC. The Roman legions marched across Europe in caligae — heavy-soled military sandals with leather straps laced tightly across the front to prevent slipping during long marches. That lacing system didn’t just secure the foot; it allowed every soldier to achieve a custom fit, something modern lacing still does today.
Fast-forward to the 20th century: thin, round, waxed cotton laces became the standard for dress shoes, and the way you laced them — straight bar for the city, criss-cross for the country — became a class marker as legible as your accent.
Know Your Laces — Flat vs Round, Waxed vs Unwaxed
Before you learn how to lace, you need to know what you’re lacing with. The type of shoelace you choose affects the look, the feel, and the formality level of your shoes.
Round Shoelaces — The Formal Standard
Round laces are the default for dress shoes, particularly Oxfords. They’re thin, elegant, and sit neatly in the eyelets without bulging. The rule of thumb: the thinner the round lace, the higher the quality. Cheap round laces are thick and coarse; premium round laces are slender and smooth, made from long-staple waxed cotton that resists snapping even under tension.
Round laces are the only correct choice for formal events — weddings, black-tie galas, board meetings, funerals.
Flat Shoelaces — Casual Character
Flat laces have a wider, ribbon-like profile. When viewed from the side, they sit flatter against the shoe, creating a slimmer silhouette. They’re bolder, more casual, and work well on Derbies, dress boots, and smart-casual shoes. Flat waxed cotton laces are an excellent choice for adding personality to a less formal pair without crossing into sneaker territory.
Waxed Cotton — The Secret to a Lasting Hold
The best dress shoe laces are made of waxed cotton. Three reasons:
- Friction control. The wax coating reduces friction as the lace passes through eyelets, preventing the fibers from fraying.
- Knot security. A waxed lace holds a knot better than an unwaxed one. It grips itself.
- Visual finish. The wax adds a subtle sheen — not shiny, but intentional.
Never use polyester laces on dress shoes. They look synthetic, they don’t hold a knot, and they degrade the perceived quality of the shoe.
Length Matters — Eyelet Count × Lace Length
| Pairs of Eyelets | Recommended Lace Length |
|---|---|
| 2–3 | 65 cm / 26″ |
| 4–5 | 75–80 cm / 30–32″ |
| 5–6 | 80–90 cm / 32–35″ |
| Dress Boots (6+) | 120 cm / 47″ |
The sweet spot for most dress shoes with 4–6 eyelets is 80 cm (31.5 inches). Too long, and you’ll have oversized bows. Too short, and you won’t be able to tie them comfortably.
Aglet Anatomy
The aglet is the small sheath at the end of the lace — plastic or metal — that prevents fraying and guides the lace through the eyelet. A missing or cracked aglet makes threading nearly impossible and signals that the lace is overdue for replacement. Metal aglets are more durable and look more premium; plastic aglets are standard on most off-the-shelf laces.
The Two Essential Lacing Methods
Every dress shoe lacing method falls into one of two categories: straight bar or criss-cross. Master these two, and you’ve covered 95% of real-world situations.
Straight Bar Lacing — The Formal Gold Standard
Straight bar lacing creates parallel horizontal bars across the tongue of the shoe. No laces cross over the tongue except at the very top. This is the cleanest, most formal look — and the only correct choice for Oxford shoes.
How to do it (even number of eyelets — most common):
- Insert both ends of the lace through the bottom eyelets from the outside in, creating a straight horizontal line across the bottom. Both ends should be roughly equal length.
- Take the right lace. From underneath the facing, bring it up through the second eyelet on the right side. Pull it across the top of the shoe and thread it through the second eyelet on the left side from the outside in. Pull snug. You now have your first visible bar.
- Take the left lace. From underneath, bring it up through the third eyelet on the left side. Cross it over and thread through the third eyelet on the right. Pull snug.
- Continue alternating: right lace up one on its own side, cross over, thread through. Left lace up one, cross over, thread through. Repeat until you reach the top eyelets.
- At the top, both laces come out from underneath for a clean finish.
Odd number of eyelets: Start with one lace 5–8 cm longer. The longer lace handles the final diagonal crossover underneath the facing at the top. The visual result is identical — all visible bars are straight and horizontal.
Criss-Cross Lacing — Practical and Accepted
Criss-cross lacing is what most shoes come with from the factory. The laces form visible X shapes across the tongue. Less formal than straight bar, but perfectly acceptable on Derbies and dress boots.
How to do it:
- Thread the lace through the bottom eyelets from underneath, creating a straight bar across the bottom. Adjust so both ends are equal.
- Take the left lace and cross it diagonally, threading it through the second eyelet on the right from underneath.
- Take the right lace and cross it diagonally, threading it through the second eyelet on the left from underneath.
- Repeat this alternating X pattern until you reach the top.
- The result: a neat series of Xs running up the tongue.
Criss-cross has one practical advantage: it’s easier to tighten and adjust than straight bar lacing. For shoes you’ll be wearing all day, that matters.
Beyond the Basics — 2 More Lacing Styles Worth Knowing
Once you’ve mastered the fundamentals, these two styles add variety without requiring a degree in knot theory.
Over-Under Lacing
Over-Under creates symmetrical Xs similar to criss-cross, but with a cleaner, more intentional look. The pattern alternates: one lace goes over the eyelet, the next goes under. The result is a tighter, more geometric X pattern that looks deliberate rather than default.
Lattice Lacing
Lattice is the most visually striking lacing method — and the most time-consuming. The laces form a woven grid across the tongue, with visible diagonals intersecting to create a lattice pattern. This is a statement technique: it says you value aesthetics enough to spend ten minutes lacing your shoes. Best suited for fashion-forward settings, editorial shoots, or days when you want your shoes to start conversations.
Tying the Knot — 3 Methods That Won’t Come Undone
Lacing is only half the job. The knot matters just as much.
The Problem with the Bunny Ear Knot
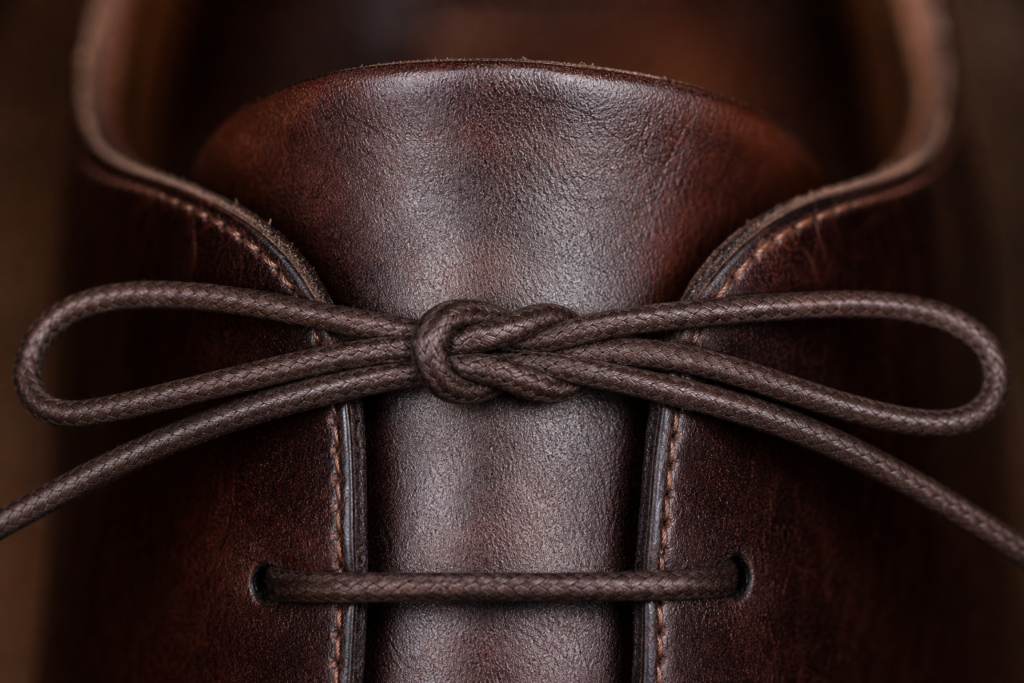
Most people tie their shoes the way they learned at age five: two loops, cross them, pull through. This is the “bunny ear” knot — technically a granny knot. It produces a bow that sits crookedly on the shoe, loosens throughout the day, and looks careless.
The fix is simple: wrap the second loop in the opposite direction.
The Magic Knot — Flat, Horizontal, Secure
The magic knot produces a bow that sits perfectly horizontal across the top of the shoe — the only orientation that complements straight bar lacing.
How to do it:
- Tighten your laces and make a starting half-knot at the top.
- Create a loop with the right lace. Pinch it at the base with your thumb and forefinger.
- Take the left lace and wrap it toward your toe (not toward your ankle — this is the key difference from the bunny ear method), going around the front of the pinched loop.
- Pull the left lace through the gap you’ve created at the base to form a second loop.
- Pull both loops evenly to tighten.
The result: a flat bow that sits horizontally and won’t rotate during the day.
The Parisian Knot — Double-Wrap for Extra Hold
For shoes that tend to come untied, the Parisian knot adds a second wrap before pulling through. Wrap the free lace around the first loop twice instead of once, then pull through. The extra friction holds the knot tighter — ideal for long days, active events, or shoes with slick waxed laces.
The Berluti Knot — For the Sartorialist
Named after the Italian designer Olga Berluti and inspired by the Duke of Windsor’s symmetrical tie knots, the Berluti knot produces a perfectly balanced, nearly invisible double knot that lies completely flat. It’s the most elegant option — and the hardest to master. Reserved for formal occasions where every millimeter counts.
Matching Laces to Shoes — A Field Guide
Oxford Shoes → Straight Bar + Round Waxed Cotton
Oxfords have a closed lacing system — the vamp is sewn under the quarters, creating a tight, continuous V-shape. This formality demands straight bar lacing. Pair with thin round waxed cotton laces in a color that matches the leather.
Derby Shoes → Criss-Cross or Straight Bar
Derbies have an open lacing system — the quarters are sewn on top of the vamp, creating two separate flaps. More casual than Oxfords, so both straight bar and criss-cross are acceptable. Flat waxed cotton laces add a distinctive look.
Dress Boots → Longer Laces, Same Rules
Balmoral boots and chukkas follow the same principles: round waxed cotton, straight bar or criss-cross. The only difference is length — dress boots need 120 cm (47 inch) laces to accommodate the extra eyelets.
Evening & Tuxedo Shoes → Silk Satin Flat Laces
Patent leather Oxfords paired with a tuxedo call for something special: flat silk satin laces. The wide, flat bow mirrors the bow tie at your neck, creating visual symmetry. Match the fabric — satin with satin, grosgrain with grosgrain. This is a level of detail most men never reach, which is exactly why it works.
Color Coordination — What Works, What Doesn’t
Same-Color Rule — The Safest Bet
Black shoes + black laces. Brown shoes + brown laces. This is the default for a reason: it never fails. Formal environments reward subtlety.
Monochromatic Contrast — Subtle Depth
Wear a lighter shade of lace on a darker shoe, or vice versa. Tan laces on dark brown shoes create depth without shouting. This works best on Derbies and casual dress shoes, not on formal Oxfords.
Complementary Colors — Bold but Calculated
This is where the color wheel comes in. Colors opposite each other — burgundy and forest green, navy and tan — create vibrant contrast. A pair of oxblood Oxfords with dark green laces is unexpected but grounded in color theory. This is an advanced move. Use it when the rest of your outfit is neutral.
When NOT to Experiment
Weddings where you are the groom. Funerals. Job interviews. Court appearances. Client meetings with six-figure stakes. In these settings, match your laces to your leather and keep the knot clean. Your shoes should be invisible — not a talking point.
Shoelace Care — Keeping Them Clean and Fresh
How Often Should You Clean Your Laces?
Once a month for shoes you wear regularly. More often if they’re light-colored. If you notice discoloration at the eyelets — the first spot to darken from friction and hand oil — it’s time.
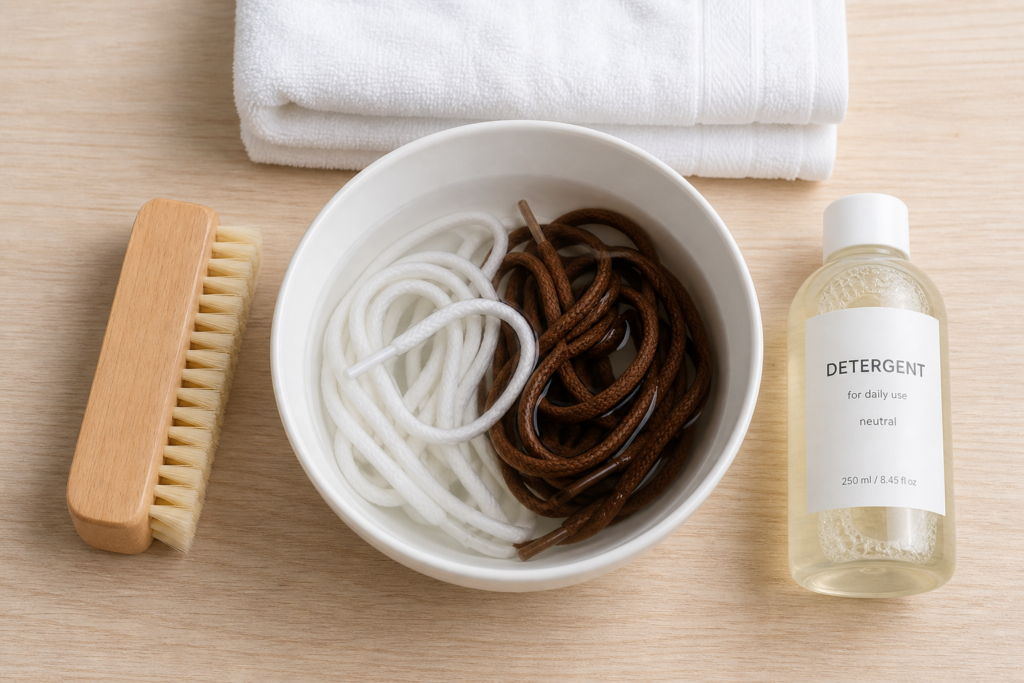
Hand-Wash Method
- Remove the laces from the shoes.
- Fill a bowl with warm water and add a small amount of neutral detergent.
- Soak the laces for 15 minutes.
- Gently rub the laces between your fingers, focusing on discolored areas.
- Rinse thoroughly with clean water.
- Lay flat on a towel to air-dry. Never use a dryer — heat shrinks cotton and damages the wax coating.
Machine-Wash Method
Place the laces inside a mesh laundry bag (the kind used for delicates). Wash on a cold, gentle cycle with mild detergent. Remove promptly and air-dry. This method is faster but slightly harder on the aglets.
Stain Removal Tricks
- General grime: Soak in warm water with a tablespoon of baking soda for 30 minutes, then wash as above.
- White laces turned gray: Soak in a mixture of warm water and oxygen bleach (not chlorine bleach) for 1 hour.
- Oil or grease spots: Apply a small amount of dish soap directly to the spot, rub gently, then wash.
When to Replace Rather Than Clean
Replace your laces when: the aglet is missing or cracked, the fibers are visibly frayed, the color has faded unevenly, or the wax coating has worn off completely. A pair of replacement waxed cotton laces costs less than a lunch — don’t overthink it.
Casual & Athletic Lacing — Beyond Dress Shoes
Factory Lacing (DS Knot) — The Sneakerhead’s Choice
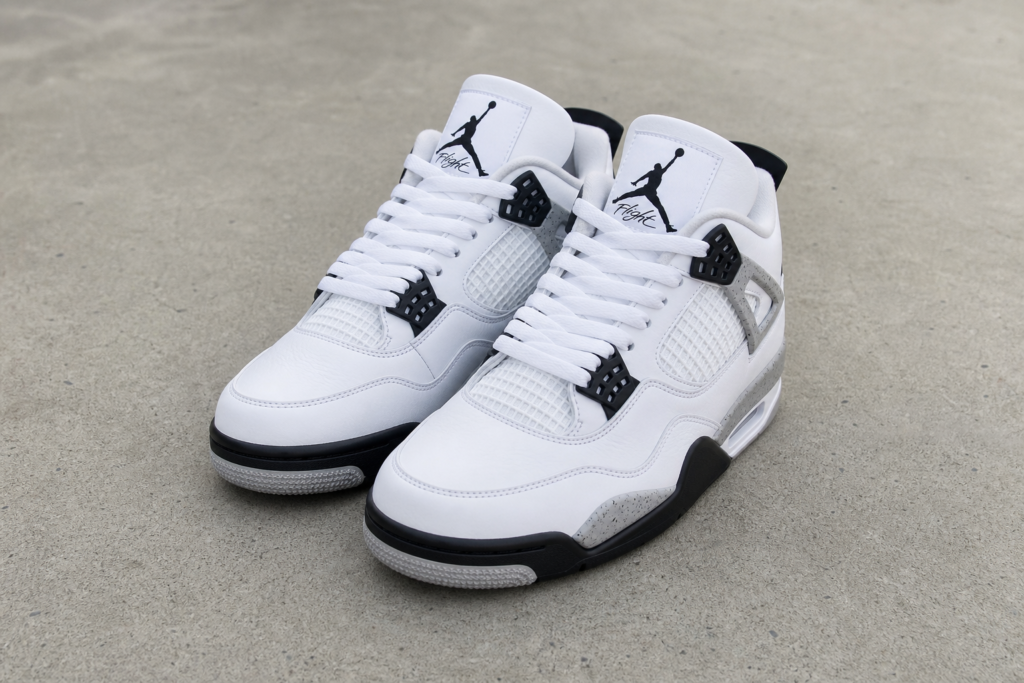
Factory lacing — also called the DS (Deadstock) knot — is the method used to lace sneakers straight out of the box. The laces are threaded loosely through all eyelets but never tied into a bow; instead, the excess is tucked inside the shoe or tied in a hidden knot behind the tongue. The result: a clean, unlaced look that puts the shoe itself front and center.
Factory lacing is not for dress shoes. It belongs firmly in the sneaker world — Jordan 1s, Dunks, Air Force 1s. But it’s worth knowing because the principle is the same as straight bar lacing: hide the mechanics, show the result.
On Cloud Shoes — Lacing for Performance
On running shoes use an elastic speed-lacing system designed for quick, locked-in fit. Unlike dress shoes, the emphasis is on function over form — the laces cinch and release in one motion, often with a toggle lock rather than a knot. If you’re sourcing athletic footwear for your brand, the lacing system is a product feature in itself. A well-designed quick-lace system can be the deciding factor for a customer choosing between two otherwise similar shoes.
From Factory Floor to Finished Pair — How Quality Shoelaces Define Your Brand
The Shoelace Is Part of the Product
Here’s a scenario: a customer opens their box from your brand. The shoes are beautiful — full-grain leather, clean stitching, a perfect silhouette. Then they notice the laces. They’re thin polyester, already kinked from being tied too tightly at the factory. The aglet is plastic, one is slightly bent. The customer’s first action is not to admire the shoes — it’s to Google “replacement dress shoe laces.”
Every dollar you invested in that upper, that sole, that packaging — partially undone by a $0.15 lace.
This is not hypothetical. Shoelaces are the most overlooked component in footwear manufacturing, and they’re also the first thing a customer touches every single time they put the shoe on.
Sourcing Shoelaces at Production Scale
When specifying laces for a production run, three variables matter:
- Material. Waxed cotton for dress shoes. Polyester only for athletic or budget lines. The cost difference between good waxed cotton and cheap polyester is fractions of a cent per pair — and the perceived quality difference is dollars on the retail price.
- Length. Standardize on 80 cm for dress shoes with 4–6 eyelets. For boots, 120 cm. Getting this wrong means customer complaints about laces that are too short to tie or too long to look neat.
- Color matching. The lace color must match the leather color within a tight tolerance. A “black” lace and a “black” shoe that are slightly different shades of black look worse together than an intentionally contrasting pair. Test under multiple light sources — showroom, daylight, office fluorescent — before approving.
XuFan Footwear: Every Detail Counts
At XuFan Footwear, we’ve spent 11 years manufacturing shoes for European and Japanese brands. We understand that the customer experience starts the moment the box opens — and that includes the laces.
Our OEM/ODM service covers every component: from full-grain leather uppers to waxed cotton laces sourced to your specification, from the construction method underfoot to the aglet on the tip. BSCI and ISO certified, with production capacity of 1,200,000 pairs per year across our 8,023 sqm facility in Anhui, China.
Whether you’re launching a new dress shoe line or refining an existing one, we’ll make sure the details don’t get overlooked. Because your customers notice. And so do we.
→ xufanshoes.com
📧 info@xufanshoes.com
Sources & Further Reading
- Ian’s Shoelace Site — The most comprehensive resource on shoelaces worldwide, maintained by Ian Fieggen since 2003
- Wikipedia: Shoelaces — History, construction, and lacing methods
- Wikipedia: Caligae — Roman military footwear and the origins of laced shoes
- Gentleman’s Gazette: How to Lace Oxfords, Derbies, & Men’s Dress Shoes — In-depth guide with video tutorials
- ShoeTree Project: How to Lace Formal Dress Shoes — Straight lacing, criss-cross, and shoelace selection guide
- Wikipedia: Berluti — History of the French luxury shoemaker
Jing County XuFan Footwear Co., Ltd. | OEM/ODM Footwear Manufacturer Since 2014 | Anhui, China | BSCI · ISO Certified