
How to Make Cement Shoes: Inside the Modern Cement Construction Process
If your brand is sourcing sneakers, casual shoes, or entry-level dress shoes from a factory, cement construction is almost certainly how your product will be made. Understanding the process — not as a consumer curiosity, but as a buyer who must evaluate quality, durability, and factory capability — is the difference between a shoe line that survives retail and one that comes back as a delamination complaint. This guide walks you through the full cement shoe manufacturing process as it is actually executed on a modern production floor, and what to look for when you choose the factory that will make yours.
What “Cement Shoes” Means in the Footwear Industry
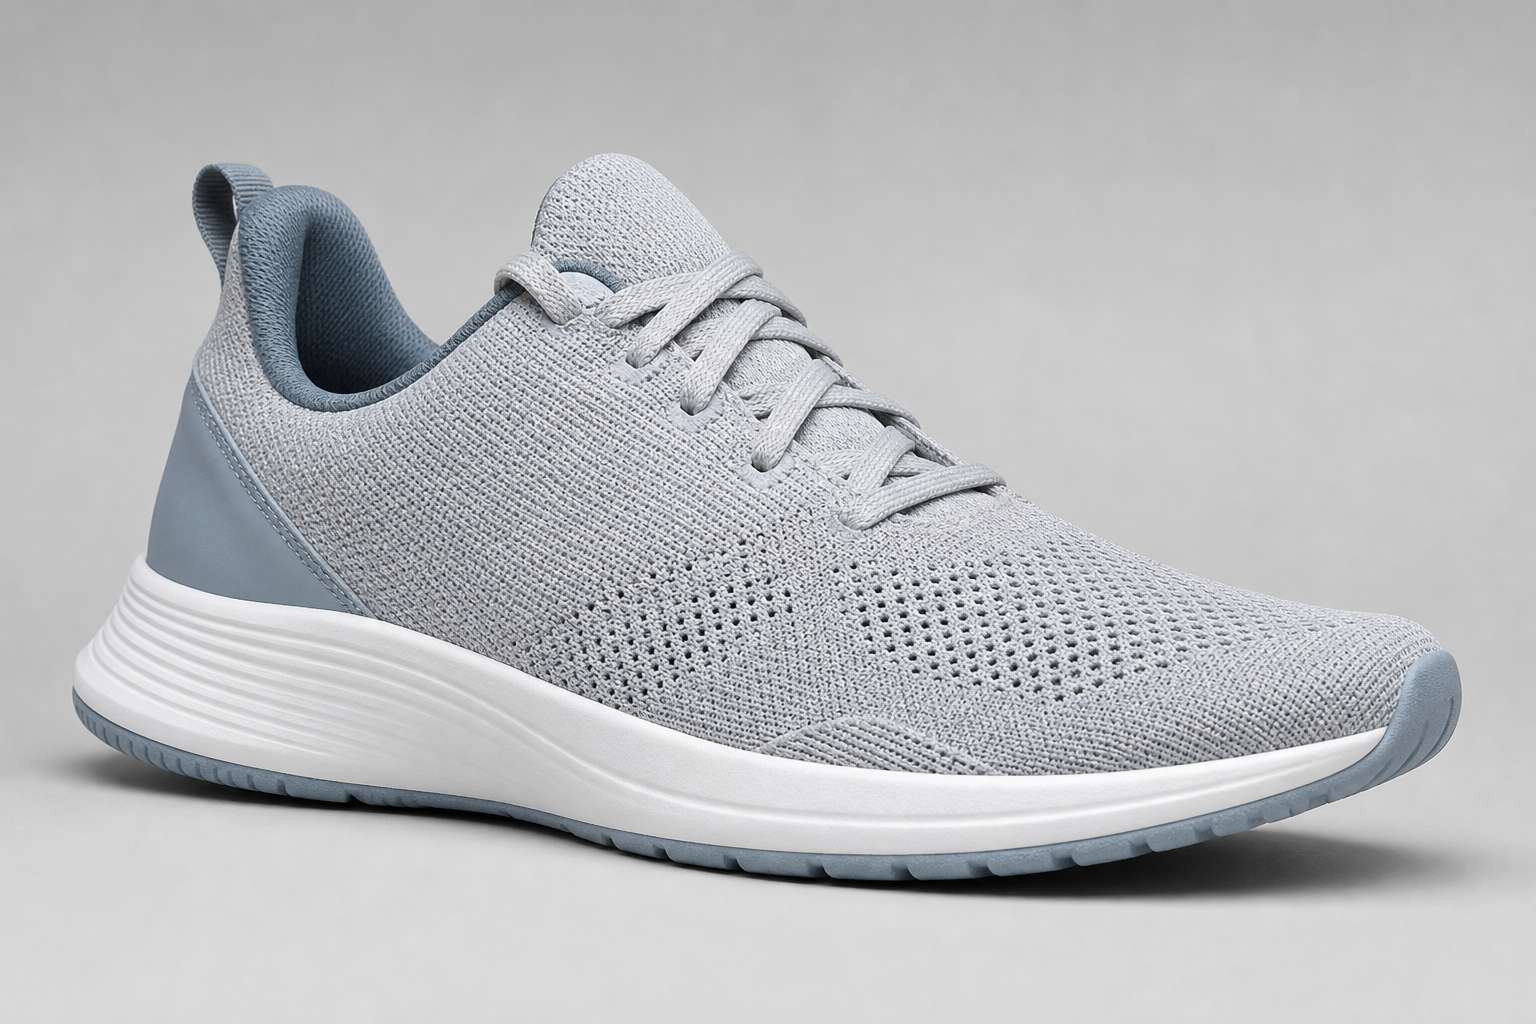
Cement construction, also called cementing or direct-attachment construction, is a manufacturing method in which a shoe’s upper is attached directly to its outsole using a strong adhesive rather than stitching or vulcanization. There are no stitches connecting the sole to the upper. The term dates back to an era when natural rubber adhesives were literally derived from rubber dissolved in solvent — a material with a cement-like consistency — and the name stuck even as the chemistry advanced to high-performance polyurethane systems. It is the dominant construction method for mass-market footwear because it is fast, cost-effective, and light.
Why This Matters for Brand Buyers
For a sourcing manager, the practical meaning is simple: your product’s long-term durability, your return rate, and your brand’s reputation for quality all hinge on how well a factory executes roughly six hours of adhesive chemistry, mechanical pressing, and process control. The same “cement shoe” that delaminates after three months of wear in one factory can last years when produced under disciplined process control in another. That is why this guide focuses on the process details, not just the concept.
Why Cement Construction Took Over Modern Footwear
Cement construction is not the oldest way to make a shoe, but it is the way most shoes are made today. Its rise is a story of material science meeting market economics. Over 80% of modern mass-market shoes — including sneakers, casual styles, and many dress shoes — rely on this method, and the reasons are concrete.
Speed and Cost Efficiency
Compared with traditional constructions, cementing requires fewer steps, less specialized machinery, and less skilled manual labor per pair. A cemented shoe moves from lasted upper to finished product in a matter of hours rather than days. For brands that need to hit retail windows with predictable margins, that throughput advantage is decisive.
Lightweight Flexibility
By eliminating extra layers and stitching — such as the leather welt used in Goodyear welted construction — cemented shoes are lighter and more flexible out of the box. This makes the method ideal for athletic and casual footwear where immediate comfort, cushioning, and weight are the primary selling points. Modern performance shoes are not heavier than their ancestors by accident; they are lighter because cementing allows foam, mesh, and engineered materials to do the work that leather and stitching once did.
The Material Freedom
Cement construction does not care whether your outsole is EVA, rubber, TPU, or a combination. It bonds any of them to any upper material — full-grain leather, synthetic leather, engineered mesh, or knit. This material agnosticism is what makes cementing the default choice for brands that iterate quickly across categories and materials. Cement construction prioritizes manufacturing speed, flexibility, and a lower initial cost — the exact trade-offs most consumer brands are willing to make.
Cold Cement vs. Vulcanized: The Modern Divide
Ask an industry veteran how to make cement shoes and the conversation will quickly arrive at a fork: cold cement construction versus vulcanized construction. Understanding the difference tells you which brands and which factories make which products.
Vulcanized construction is the classic way to make a sneaker — this is how Converse All-Stars and Vans skate shoes are built. The upper is lasted over a metal last, the outsole and foxing tape are applied in uncured rubber, and the whole shoe is “cooked” in a vulcanizing oven for several hours at high heat, chemically fusing the rubber components together. The process is iconic, but the high temperature severely limits material choice: canvas and suede leather dominate, and EVA foam cannot survive the oven.
In the 1980s, modern cold cement construction replaced vulcanized construction for most of the industry. Cold cementing needs no oven: the outsole is fully cured before assembly, and the bond is created entirely by adhesive, pressure, and controlled temperature in a heating tunnel far below vulcanization levels. That low-temperature process unlocks the modern material palette — EVA, Phylon, TPU, engineered mesh — and it is how Nike makes shoes, how Adidas makes shoes, and how virtually every high-performance athletic shoe on the market is produced. Vulcanized shoes made a fashion comeback in the 2010s, but cold cement remains the industrial mainstream.
| Parameter | Cold Cement Construction | Vulcanized Construction |
|---|---|---|
| Bonding method | Adhesive + hydraulic pressure | Heat-cured rubber (oven vulcanization) |
| Processing temperature | Low (heating tunnel, no oven cure) | High (several hours in vulcanizing oven) |
| Material options | EVA, TPU, mesh, leather, synthetic | Canvas, suede, rubber — no EVA foam |
| Typical products | Performance athletic, casual, dress | Classic canvas sneakers, skate shoes |
| Examples | Nike, Adidas performance lines | Converse All-Stars, Vans |
| Weight & flexibility | Lightweight, highly flexible | Heavier, stiffer structure |
Step 1: Upper Preparation and Lasting — Building the Shoe’s Body
Every cement shoe starts long before any adhesive is applied. The process is a chain, and the quality of every later stage depends on the discipline of the stages before it.
Cutting, Stitching and Component Prep
Uppers begin as flat materials — leather, synthetic, or engineered mesh — that are cut to pattern, skived, stitched, and assembled into a three-dimensional shoe upper. Toe puffs and heel counters are inserted to give the toe box and heel their structure, then activated with heat or steam so they shape the upper correctly. In modern factories, this stage is increasingly automated: CNC cutting, automatic stitching, and robotic component placement reduce the human variation that once plagued upper consistency.
Lasting the Upper
The assembled upper is pulled over a foot-shaped form called a last, stretched tight, and secured at the bottom edge. Lasting machines apply controlled tension so the upper takes on the shoe’s final geometry without wrinkles. The bottom of the lasted upper — the “feather edge” that will eventually meet the outsole — is then trimmed and prepared for bonding. Meanwhile, the sole unit is built in a parallel operation called stock fitting: an outsole is combined with an EVA foam midsole and cemented together as a complete unit ready for attachment.
Step 2: Surface Roughing, Washing and Priming — The Foundation of the Bond
Here is the first place where most of the difference between a good cement shoe and a bad one is decided. Adhesive does not stick to smooth surfaces. Surface roughing forms the foundation of a strong bond — it creates controlled micro-abrasions that enable both mechanical keying and chemical interlocking between the upper and outsole materials.
Roughing and Buffing
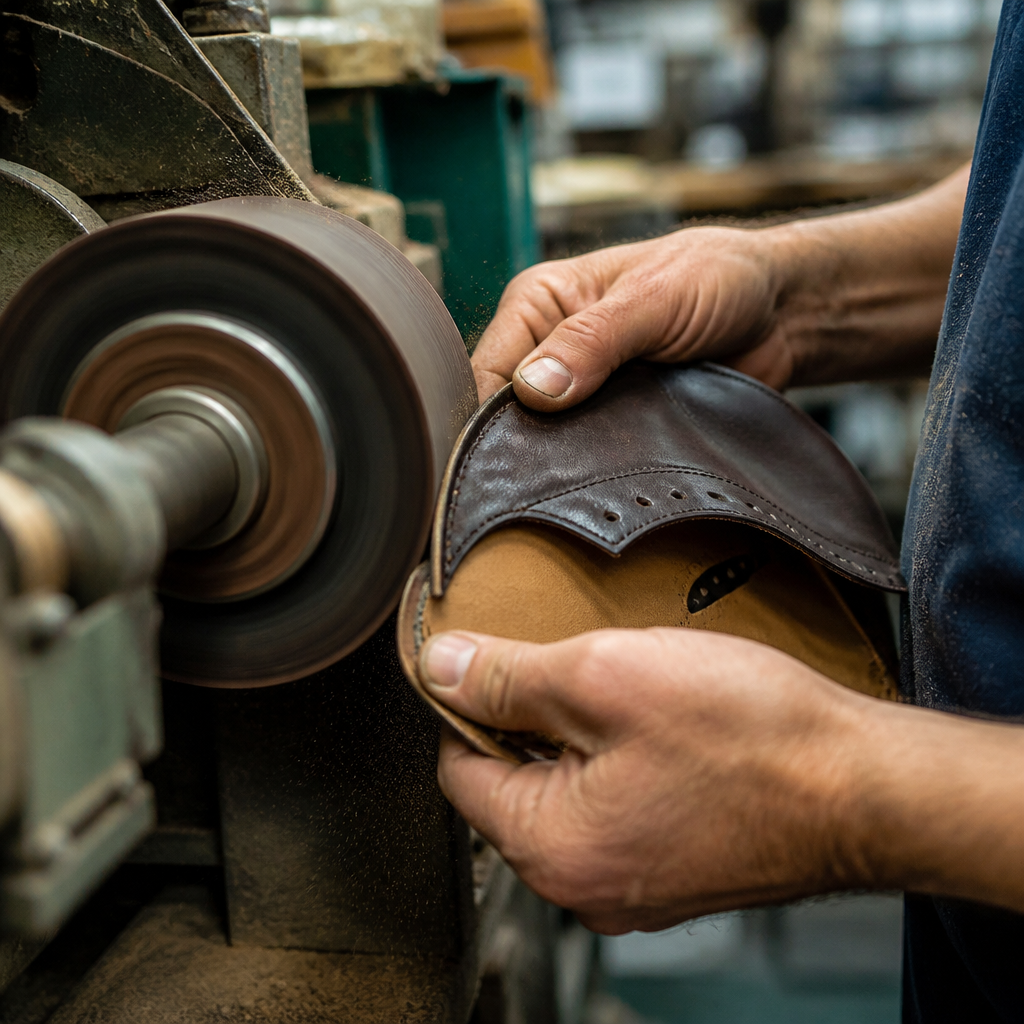
Factories use automated roughing machines with variable RPM control, or dedicated manual stations, to abrade both the bottom of the lasted upper and the inner surface of the outsole. The tooling matters as much as the motion: emery wheels for general work, silicon carbide belts for finer control, stainless-steel wire brushes for deep activation. Material-specific settings are non-negotiable — PU needs controlled abrasion without melting, rubber needs deeper surface activation, and EVA demands softer handling to avoid tearing. Grit size must match the material; too coarse damages fibers and creates weak boundary layers, too fine fails to generate enough surface energy for the adhesive to wet properly. Serious factories verify surface roughness with profilometer spot checks and run mandatory adhesion test strips every shift.
Washing and Priming
Immediately after roughing, the surfaces carry dust, oils, mold-release agents, and plasticizers — all of which block adhesive penetration. A washing stage removes these contaminants, then a chemical primer is brushed or sprayed on to raise surface energy and improve adhesive wetting. Timing matters: primer must be applied within minutes of roughing, before contamination can re-form, and primer batch lots must be traceable to production shifts. Primer selection errors are one of the leading causes of delayed bond failure, and the defects often appear only after 48-hour humidity or hydrolysis ageing tests.
Step 3: Primary and Secondary Cementing — The Dual-Coat System
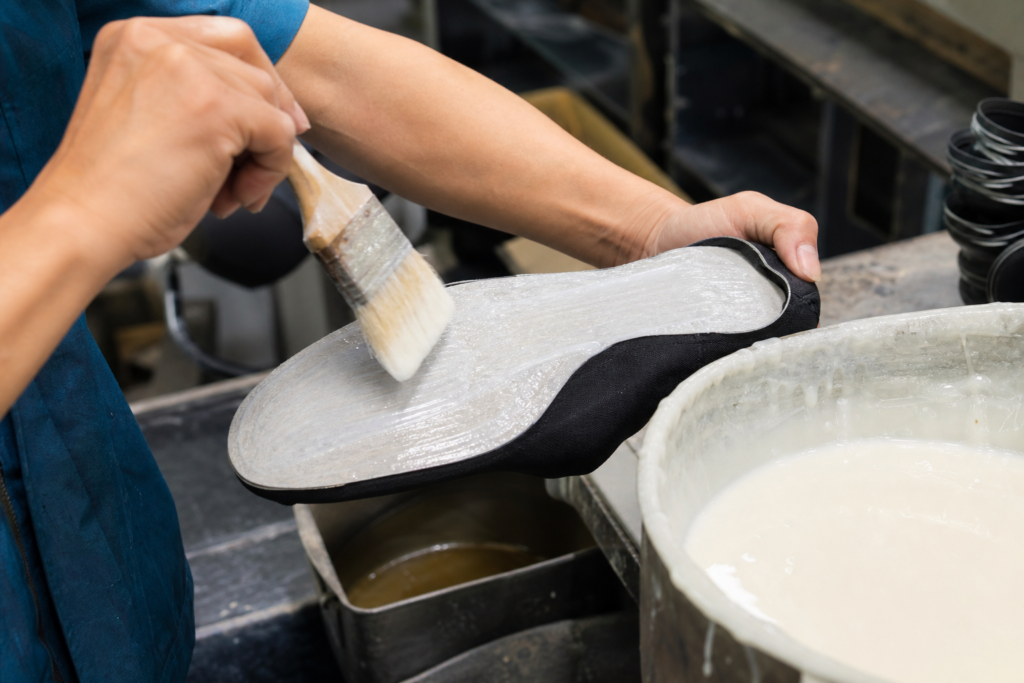
With surfaces prepared, the shoe moves to the cementing station. Modern footwear manufacturing uses a dual-coat adhesive system, and understanding it is central to knowing how to make cement shoes correctly. The first coat acts primarily as a penetrating layer that anchors into the prepared substrate, while the second coat builds the cohesive adhesive film necessary for final bond strength.
Primary Coat: Penetration
The primary cement layer is designed to flow into the microscopic pores and roughened cavities created during roughing. This deep penetration creates a chemical and mechanical anchor between the adhesive and the substrate. Different materials absorb adhesive differently: rubber allows moderate penetration, EVA foam absorbs aggressively because of its porous structure, and TPU requires stronger chemical activation because it naturally resists adhesion. Viscosity is controlled within tight bands — checked with Zahn cups, Ford cups, or digital viscometers at the start of every shift — because adhesive that is too thick will not penetrate, while adhesive that is too thin penetrates so deeply that it starves the bond surface of the film it needs. That failure mode has a name: cement starvation.
Secondary Coat: Film Build
The secondary coat is applied after the primary layer reaches its drying condition. Its job is to build the adhesive film thickness that will provide cohesive strength — the actual “body” of the bond. Coating weight is specified in grams per square meter and enforced through reference panels every shift, because too little film creates weak zones and too much traps solvent that later expands into bubbles and blisters during heat activation.
Adhesive Chemistry Choices
The adhesive itself is selected by material compatibility. Solvent-based polyurethane systems are the workhorse of sports footwear — excellent flex resistance, peel strength, and heat durability, bonding rubber, TPU, EVA, and synthetic leather alike. Neoprene systems offer fast tack for casual production lines. Water-based systems are the growth area, driven by brand compliance demands for low VOC emissions and safer workplaces. Reactive hot-melt adhesives are increasingly used in automated and robotic lines for their rapid setting and heat resistance. The choice is never one-size-fits-all; it is defined in the adhesive technical data sheet for each material combination.
Step 4: Drying, Activation and Outsole Attaching — Timing Is Everything
After cementing, the components pass through drying and activation. Drying removes solvents without forming a surface skin; activation then restores adhesive tack within a defined open-time window. High-volume lines use multi-zone conveyorized tunnel dryers with infrared or hot-air systems. Over-activation burns the adhesive and distorts materials; under-activation leaves insufficient tack. Factories control both temperature and dwell time, and disciplined operators monitor dryer exit temperature with infrared pyrometers — a deviation of more than 3°C means stopping the line.
The outsole is then aligned to the marking lines on the lasted upper and attached by hand. This is a high-skill, high-stakes moment: the open-time window is typically just 30 to 60 seconds. Once the adhesive tack peaks, contact must be established — and once contact is made, correction is almost impossible. This is why the world’s best cement shoe factories treat the attaching station as a precision operation staffed by experienced operators, often supported by alignment jigs or laser guides.
Step 5: Hydraulic Pressing, Chilling and Ageing — Locking the Bond
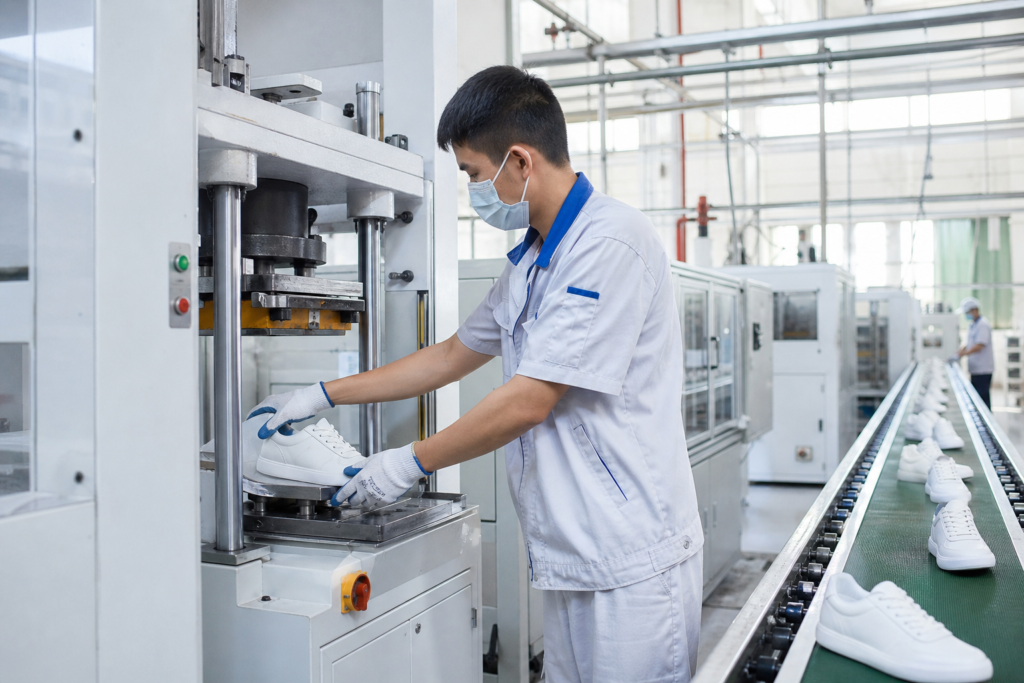
Attaching is only the beginning of the bond. Immediately after attachment, the shoe moves to pressing — and it must happen within 60 seconds, while tack is still at its peak.
Three-Directional Hydraulic Pressing
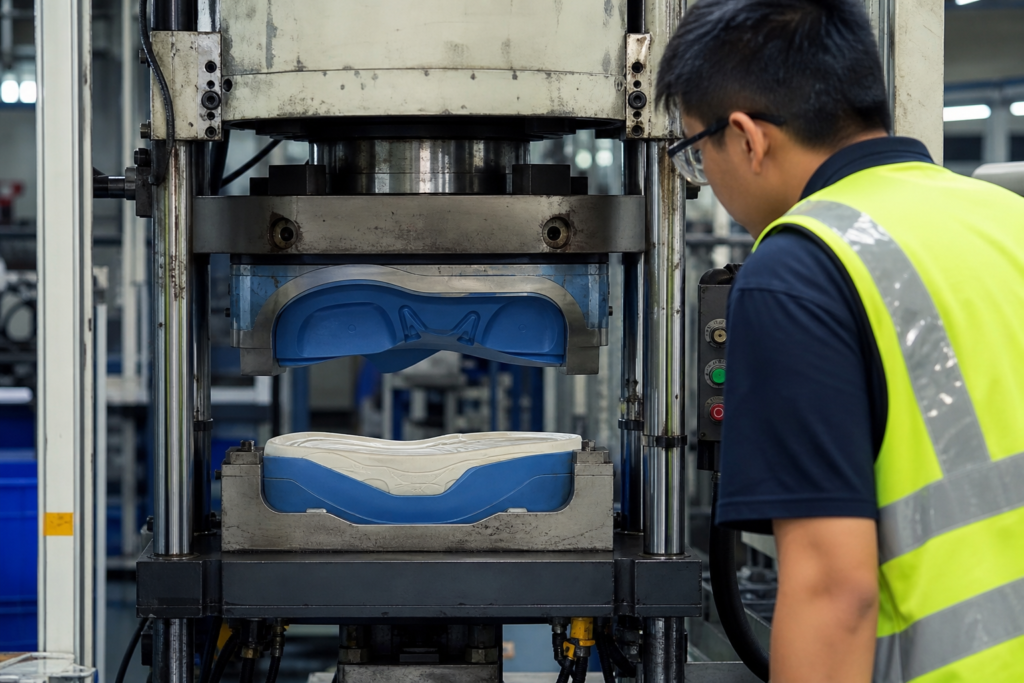
The lasted shoe goes through three pressing operations, usually performed by one machine: a vertical press, a toe-and-heel press, and a side press. Together they ensure full contact between the upper and the outsole with no gaps. Custom silicon negative molds replicate the exact tread pattern and sidewall geometry of the outsole, distributing pressure uniformly and preventing tread collapse or uneven bonding. Pressing also removes trapped air that would otherwise create weak bonding zones or visible separation later.
Chilling to Lock Geometry
Pressing generates heat inside the adhesive and upper materials. If that heat is left to dissipate naturally, the shoe can distort, shrink, or suffer bond creep. So the pressed shoe immediately enters a chilling tunnel with controlled cold-air circulation, which stabilizes the bond and locks the shoe’s final geometry before any further handling.
Ageing: Where the Bond Gets Strong
This is the step most buyers never see and most factories would rather skip. Although pressing creates the initial bond, the adhesive reaches its full strength only during ageing, as chemical cross-linking continues and internal stresses in the upper relax. Standard practice is natural rack ageing of 45 to 90 minutes under controlled ambient conditions; modern systems use accelerated ageing tunnels that cut this to under 30 minutes without compromising performance. Humidity matters — above 70% relative humidity, cross-linking slows and ageing time must be extended. Factories that shorten or skip ageing ship shoes that pass inspection but fail in the field.
De-Lasting
Once ageing is complete, the last is removed with an automatic de-lasting machine that applies gradual, controlled extraction force — sudden force would collapse heel counters, wrinkle uppers, or distort the shoe. The finished shoe is then ready for footbed insertion, lacing, and final finishing.
Step 6: Quality Control and the Modern Advances in Cementing
A cement shoe is only as good as the verification behind it. Modern factories test bonds destructively and continuously, because the failure modes are invisible at the surface.
Laboratory Testing
Peel strength testing measures the force required to separate the upper from the outsole — the single most important number in a cement shoe. Flex testing bends the shoe repeatedly to expose fatigue failure in the bond line. Hydrolysis and humidity ageing tests simulate months of wear and moisture exposure in days, catching delayed bond failure before shipment rather than after the customer’s return. Advanced factories record adhesive batch numbers, operator identity, machine settings, and shift timing for every pair, so any complaint can be traced to its root cause in hours, not weeks.
The Sustainability Shift
The modern cementing line is also a cleaner one. Global brands increasingly require environmentally compliant manufacturing: water-based adhesives with dramatically lower VOC emissions, solvent recovery systems in cementing departments, explosion-proof ventilation, and strict chemical storage protocols. When you audit a factory, the cementing area’s safety and environmental controls — extraction systems, PPE discipline, solvent management — are a direct window into whether that factory will pass your brand’s own compliance requirements in three years.
Automation and Robotics
Finally, the cementing process is being automated. Robotic adhesive application delivers coating consistency no human operator can match; conveyorized activation tunnels with closed-loop temperature control remove guesswork; and data systems log every process parameter. The factories producing the best cement shoes are the ones treating cementing as an engineering process with measurable parameters — viscosity, coating weight, activation temperature, open time, press pressure, ageing duration — rather than as a manual craft.
How to Choose a Factory That Makes Cement Shoes Right — and Why XuFan Leads
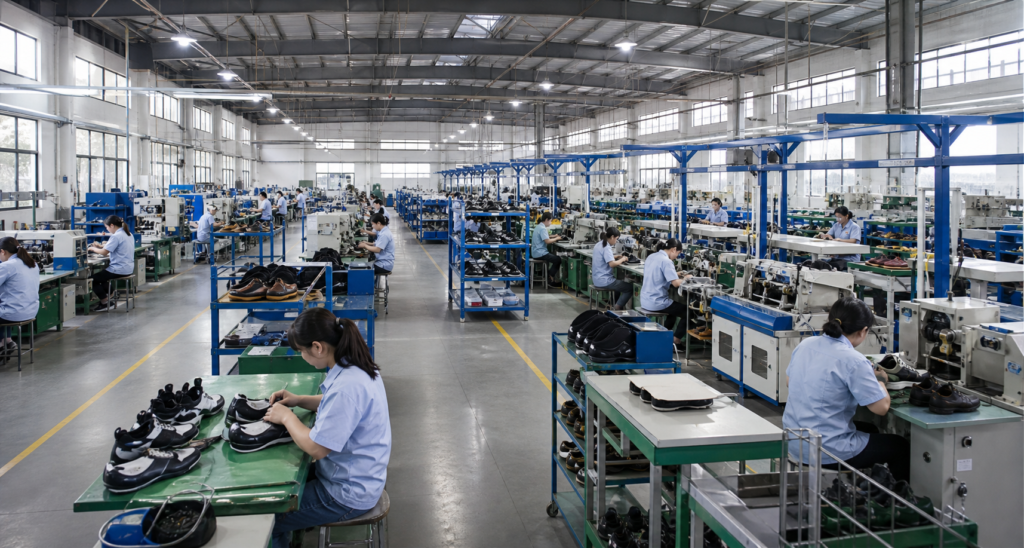
You now know the process. The final question is how to evaluate the factory that will execute it for your brand. Walk the production floor with this checklist:
- Are roughing settings calibrated per material, with adhesion test strips run each shift?
- Is primer applied within minutes of roughing, with batch traceability?
- Are dual coats applied with measured coating weight, and viscosity checked at shift start?
- Is the outsole attached within the 30–60 second open-time window, and pressed within 60 seconds?
- Is there a chilling tunnel and a genuine ageing stage — or does the line rush straight to de-lasting?
- Does the lab run peel, flex, and hydrolysis tests with data you can review?
- Are water-based or low-VOC adhesive options available for your compliance needs?
These are the questions we answer every day at XuFan Footwear. Since 2014, our factory in Anhui, China — 8,023 square meters, two to three production lines, and an annual capacity of 1,200,000 pairs — has specialized in precisely the kind of cement construction described in this guide. We are BSCI and ISO certified, and we have built our reputation serving European and Japanese brands that demand consistent bond integrity, clean production, and dependable lead times. Our cementing lines run the full modern sequence: material-calibrated roughing, dual-coat adhesive systems with strict viscosity and coating-weight control, three-directional hydraulic pressing, chilling, and full ageing — backed by peel and flex testing on every production batch. From full-grain leather uppers and waxed cotton laces to custom branding and packaging, we deliver OEM and ODM programs with a working MOQ of 500 to 1,000 pairs per style. If your brand is ready for cement shoes made to the highest modern standard, visit xufanshoes.com or email info@xufanshoes.com — we will walk you through our process, our testing data, and how we can build your next line.
Sources & Further Reading
- Wikipedia — Cement shoes (the cultural meaning of the term, contrasted with industrial cementing)
- Shoemakers Academy — Vulcanized Shoe Construction vs. Cold Cement Process
- The Footwear Edge — Full Shoe Assembly Process: Assembly, Finishing & Packing
- The Footwear Edge — Primary & Secondary Cementing in Footwear Manufacturing
- 3515 — What Is Cement Construction in Footwear, and What Are Its Limitations?
- Best Shoe Factory — Cold Cement Shoe Production Process
- GT Portugal — Exploring Shoe Construction Methods