
How to factory lace shoes: A Brand Buyer’s Guide to Lacing Specs & Finishing
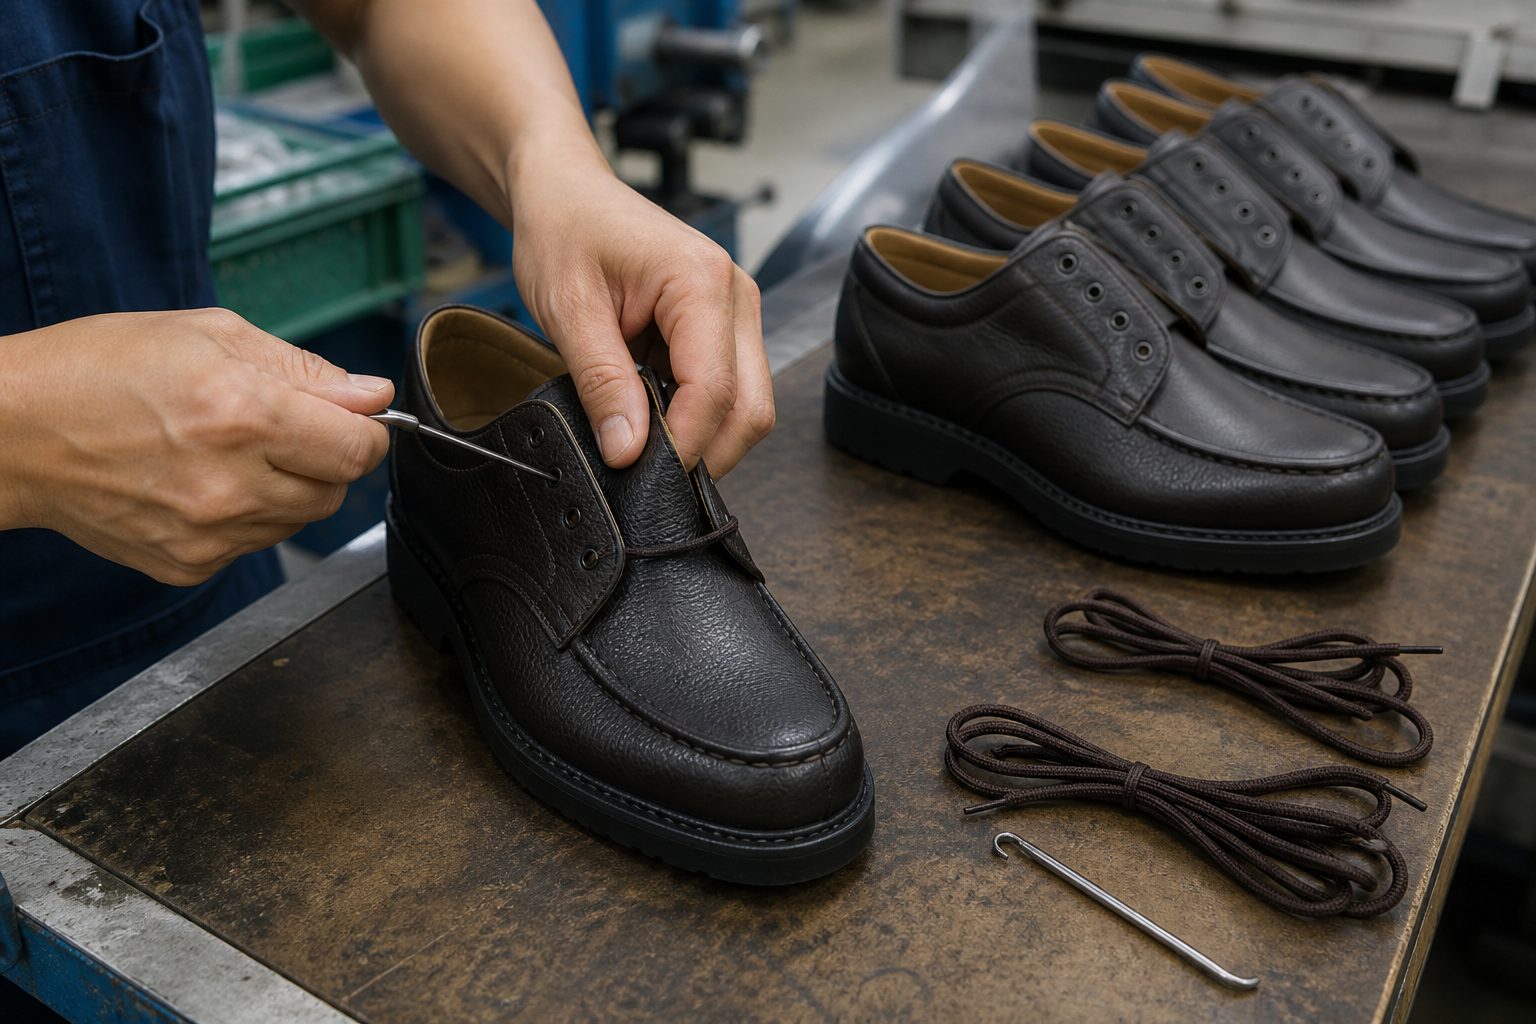
Open any box from a well-run shoe factory and the first thing you notice is the lacing. It sits dead center on the vamp, drawn tight and symmetrical, telling you in half a second whether the people who made this shoe cared about the details. The irony is that lacing is usually the last step before the shoebox — and the first thing your customer ever sees.
For brand owners, buyers, and product managers sourcing footwear, factory lacing is not a styling footnote. It is a specification you can write, measure, and inspect — exactly like sole adhesion or stitch density. This guide walks through how shoelaces are manufactured, how they are laced on the production line, what the three standard factory patterns are, and how to put all of it into a tech pack that your factory can follow without a single phone call.
The First Ten Seconds — Why Factory Lacing Is a Product Decision, Not an Afterthought
The Unboxing Moment Is Your First Impression
A customer opens your box. Before they touch the leather, before they flex the sole, before they even pick the shoe up, they register the laces. Neat, centered, evenly tensioned laces say “this brand is precise.” A twisted lace with an off-center knot says the opposite. Studies of product packaging consistently show that first impressions form in seconds and are remarkably sticky — and for footwear, the lacing is the visual anchor of that first impression.
How Customers Judge a Shoe Before They Wear It
Buyers and consumers alike read lacing as a proxy for construction quality. A shoe that arrives with laces threaded crookedly raises an immediate question: if the factory skimped on the visible detail, what about the ones hidden inside the shoe? This is why premium brands treat the factory lacing standard as part of their quality image, not as an internal convenience.
“Laced for Shipping” vs “Laced for Selling”
There is a meaningful distinction between lacing that merely keeps the laces out of the way during transit and lacing that presents the product at its best. The first is functional. The second is merchandising. Your tech pack should say explicitly which one you are buying, because the factory will default to whichever costs less unless you tell them otherwise.
From Spool to Aglet — How Shoelaces Are Actually Made
Tubular Braiding: A Dozen Spools, One Continuous Tube
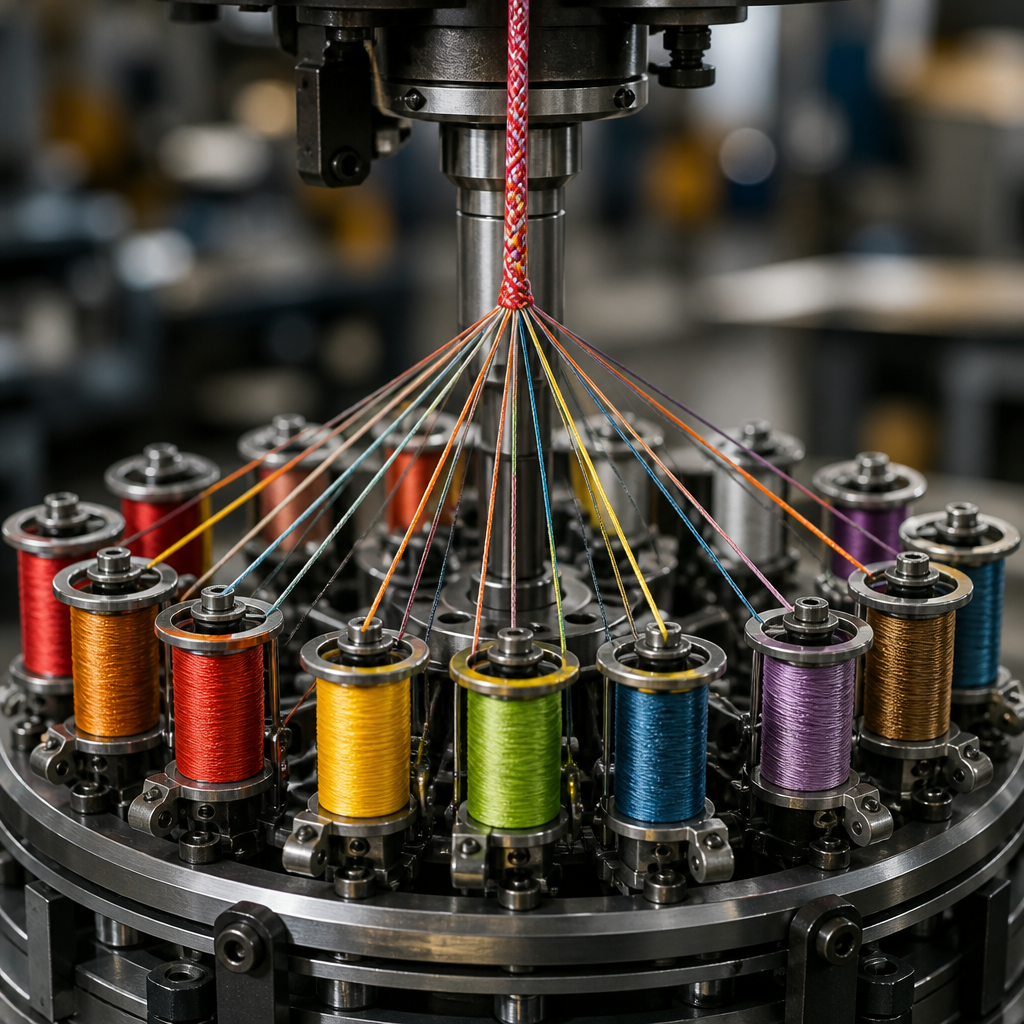
Most shoelaces start life on a tubular braider, a machine with a dozen or more spools of thread arranged around a ring. Half the spools rotate clockwise, half counter-clockwise, weaving the threads into a continuous hollow tube that is drawn off the top of the machine. This is the same principle humans have used to braid rope for millennia — industrialized and run at production speed. The braid structure is what gives a lace its strength, its grip in a knot, and its resistance to fraying.
Flat vs Round: Heated Rollers vs Solid Core
The same braided tube can become two very different laces. For flat laces, the tube passes between heated rollers that iron it into a double-walled ribbon — the standard for dress shoes and many casual styles. For round laces, the tube is braided around a solid core of loose strands, producing a firm, round cross-section that holds its shape and resists stretching. Round laces are common on boots and athletic shoes; flat laces dominate formal and classic footwear. Each behaves differently in a knot, which matters when you specify both the lace and the lacing method together.
The Aglet Machine — Plastic Sheaths Bonded with Heat
Every lace ends in an aglet — the small sheath that keeps the fibers from unraveling and guides the lace through the eyelet. In modern production, aglets are applied by machine: a strip of plastic tape is wrapped around the lace end and bonded with heat or chemicals, fusing the plastic to the fibers. Metal aglets, favored for durability and a premium feel on dress shoes, are crimped or folded over the lace end instead. The aglet is a specification point in its own right: type (plastic vs metal), length, and even custom branding with a logo or color.
Why Lace Quality Controls the Final Lacing Look
You cannot lace a bad lace into a good-looking shoe. A lace that is inconsistently braided, too stretchy, or kinked from poor handling will produce an uneven, sloppy lacing pattern no matter how careful the lacing operator is. The lacing station reveals upstream quality problems that nothing downstream can fix. For this reason, demanding factories inspect laces before they reach the lacing line — a lesson the legendary shoelace specialists who run their own 1800s-vintage braiding machines would recognize instantly.
Inside the Lacing Station — Where Laces Meet Shoes on the Production Line
Where Lacing Sits in the Finishing Workflow
Lacing happens near the very end of production: after lasting, sole attachment, and final finishing, but before the final inspection and boxing. At this point the shoe is fully built, the uppers are clean, and the shoe is on its last or a fitting form. The lacing operator’s job is to thread the lace through every eyelet according to the specified pattern, set the tension, and finish the ends according to the agreed shipping state — tied, tucked, or left loose.
Hand-Lacing Stations and Why They’re Still Standard
Despite decades of automation in cutting, stitching, and sole attachment, lacing remains overwhelmingly a hand operation. A skilled operator laces a pair in seconds, and the human hand handles the irregular geometry of eyelet rows, padded collars, and tongue shapes far more reliably than any general-purpose machine. Fully automated lacing robots exist for high-volume athletic lines, but for most OEM and ODM production — especially leather footwear with varied silhouettes — dedicated hand stations remain the industry standard.
Lace Threading Aids: Hooks, Needles, and Jigs
Operators use a small toolkit to speed the work and protect the upper: metal or plastic hooks to pull laces through tight eyelets, blunt needles for stubborn holes, and simple jigs to hold the tongue in place or keep both sides even. The right tool matters more than speed — a hooked lace or a scratched eyelet edge is a defect that survives into the box.
Speed and Consistency at Production Scale
Consistency is the real product at a lacing station. In a factory running multiple production lines and hundreds of thousands of pairs a year, every pair in a single order must look identical: same pattern, same tension, same finish. That consistency does not happen by accident. It comes from a written lacing standard, a visual sample board at the station, and periodic checks — the same discipline applied to every other step of shoemaking.
The Three Standard Factory Lacing Patterns
Straight Bar — The Formal Default for Dress Shoes
Straight bar lacing runs each lace horizontally across the vamp, with the crossing hidden underneath, creating a clean ladder of parallel bars. It is the formal gold standard for Oxfords and dress shoes because it reads as deliberate and elegant — and it is the pattern most customers expect when they open a dress shoe box. Straight bar is slightly slower to lace and consumes a bit more lace length, which is exactly why it must be specified; a factory left to its own devices will default to the faster criss-cross.
Criss-Cross — The Everyday Standard for Casual & Athletic
Criss-cross lacing is the pattern most shoes come with from the factory — visible X shapes across the tongue, fast to thread, easy to adjust, and secure under load. It suits Derbies, dress boots, casual shoes, and athletic styles where function and adjustability matter more than formality. For most categories it is the correct default, and it is also the benchmark against which other patterns are compared for lace length and fit.
Factory Lacing (DS Knot) — Laced But Untied, Tuck-and-Show
In the sneaker world, “factory lacing” has a specific meaning: the shoe is laced through all eyelets but never tied into a bow. The excess lace is tucked inside the shoe or hidden behind the tongue, presenting a clean, unlaced silhouette that puts the shoe itself front and center — the look of a deadstock pair straight out of the box. This is a deliberate finishing style for athletic and streetwear lines, and it is part of the brand aesthetic, not a shortcut. If your brand sells that unboxing experience, this is the pattern to specify.
Which Pattern Belongs on Your Last and Category
The right pattern depends on your category, your last, and your customer’s expectations. Dress shoes: straight bar. Casual and athletic: criss-cross or DS factory lacing. Boots: criss-cross, often with a speed-hook section at the top. When in doubt, look at the market leaders in your category and match the convention — customers have strong learned expectations about how a type of shoe “should” arrive laced.
Laced, Tied, or Tucked — Choosing the Shipping State
The Three Shipping States
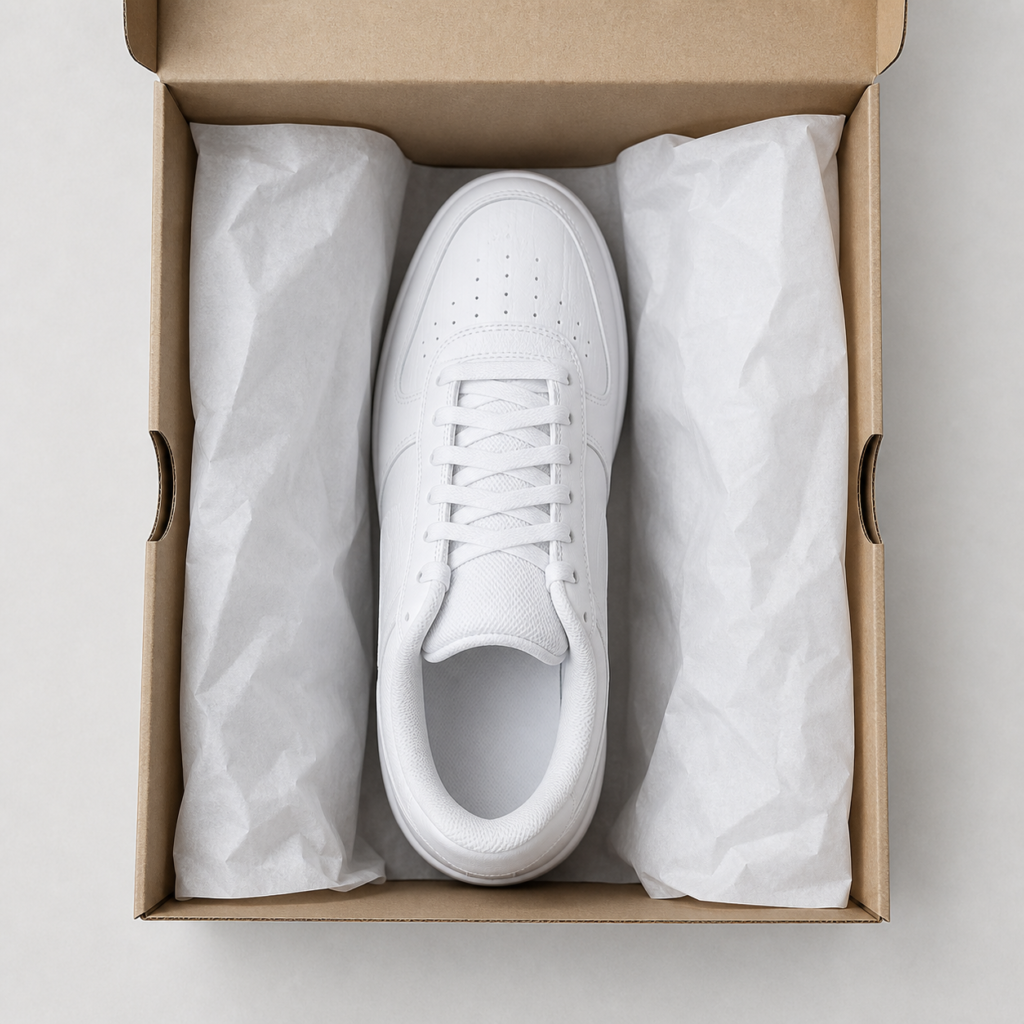
Beyond the pattern, you must choose what happens to the lace ends before the shoe goes in the box:
- Laced-only (untied): the lace is threaded but the ends are tucked inside the shoe or behind the tongue. Clean presentation, popular for dress shoes and premium sneakers.
- Laced-and-tied: the shoe arrives with a finished bow. Common for children’s shoes and some retail programs, but it can leave pressure marks on the upper and is slower at the station.
- Unlaced: the laces are folded inside the box, and the customer laces the shoe themselves. Cheapest and safest in transit, but the weakest first impression.
Retail Display vs E-Commerce Unboxing Needs
Think about where the pair will first be seen. Retail displays reward laced-and-tied or neatly laced-only shoes that look ready to wear. E-commerce rewards presentation in the box and a clean Instagram-worthy unboxing. If your channel is primarily online, laced-only with tucked ends is usually the best balance of looks and cost; if you sell heavily through boutiques, you may want laced-and-tied display pairs.
How Shipping State Affects QC Time and Cost
Each state costs differently. Unlaced is the cheapest. Laced-only adds operator time and a small risk of the lace shifting in transit. Laced-and-tied adds the most time and the risk of visible creasing or kinks where the bow was pressed. None of these costs is large per pair — but across an order of tens of thousands of pairs, the difference is real, and it should be a conscious decision in your spec, not a default you inherit.
Writing the Lacing Spec — What Goes in Your Tech Pack
Lace Length by Eyelet Count
Lace length is the most common spec error, and the consequences are visible: ends too short to tie comfortably, or absurdly long ends that drag. Standard guidance, in line with industry practice:
| Pairs of Eyelets | Recommended Lace Length |
|---|---|
| 2–3 | 65 cm / 26″ |
| 4–5 | 75–80 cm / 30–32″ |
| 5–6 | 80–90 cm / 32–35″ |
| Boots (6+) | 120 cm / 47″ |
The length you choose must also account for the pattern — straight bar consumes noticeably more lace than criss-cross — and for the final shipping state. If you want a consistent, professional look out of the box, pick the length that leaves a neat end length, and put that number in the tech pack.
Material, Width, and Aglet Type
Specify the lace itself: waxed cotton for dress shoes (holds a knot, subtle sheen, premium feel), polyester for athletic and budget lines (durable, but slippery in a knot and perceptibly cheaper), and the width in millimeters. Specify the aglet type — plastic is standard and machine-applied; metal reads premium and lasts longer — plus any custom color or logo treatment you want on the aglet.
Pattern, Tension, and Knot Instructions
Write the lacing pattern explicitly: straight bar, criss-cross, or DS factory lacing. State the tension — firm enough that the lace lies flat against the vamp without pulling the eyelet tabs together. State what happens to the ends: tucked inside, tucked behind the tongue, or tied. For laced-and-tied states, specify the knot (a standard bow or a more secure knot) and whether the bow should sit horizontal or vertical.
Left/Right Symmetry and Centering Rules
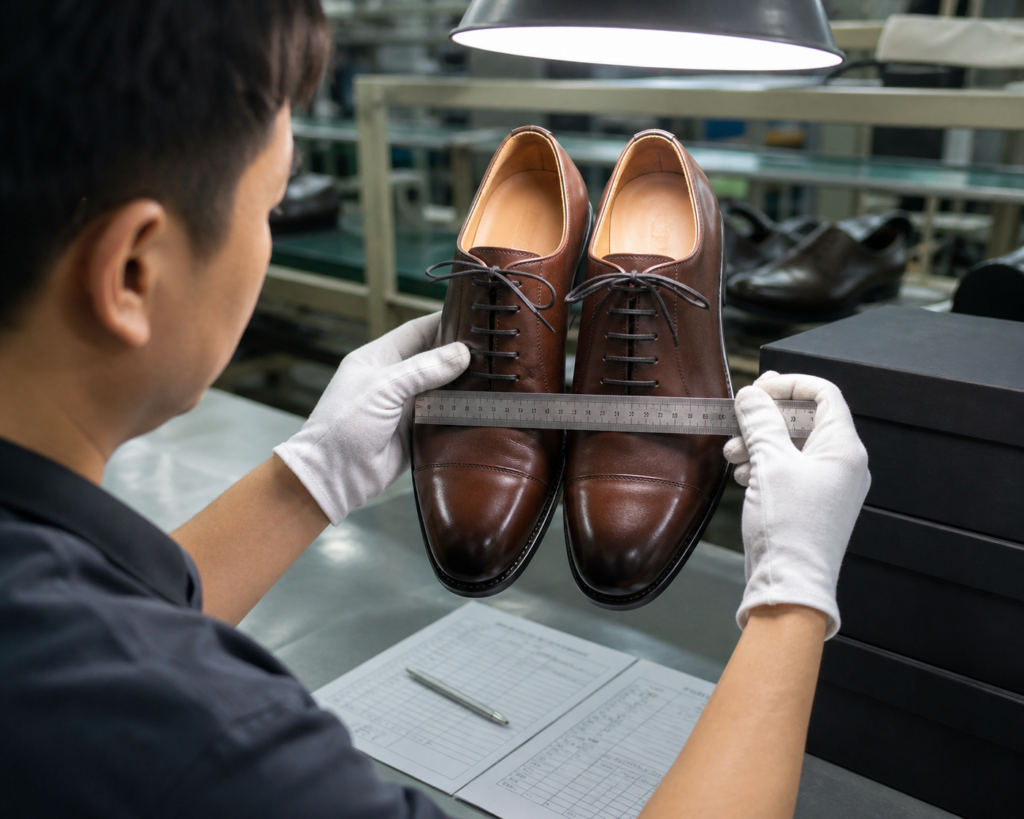
Finally, state the symmetry rules: the lace must be centered on the tongue, both sides must cross at the same height, and the left and right shoes must be mirror images. These rules sound obvious and are routinely violated. A photo sample at the station and a checklist at final inspection are the only reliable enforcement.
QC at the Lacing Stage — The Defects That Slip Through
Common Lacing Defects
The defects that survive to the box are almost always lacing defects:
- Kinks and creases — laces bent sharply from tight packing or tied ends pressed against the upper.
- Twisted laces — a flat lace flipped over mid-run, breaking the visual line.
- Uneven tension — one side visibly tighter or looser than the other.
- Off-center threading — the lace shifted toward one side of the tongue.
- Damaged or missing aglets — a bent, cracked, or absent aglet makes threading nearly impossible and screams poor QC.
- Mismatched pairs — left and right laced differently, or laces swapped between pairs of a different size.
The Inspection Checklist Buyers Should Request
Put lacing on the final inspection checklist, and ask your factory for AQL-based checks on: pattern correctness, tension uniformity, left/right symmetry, lace end length, aglet integrity, and absence of kinks. Ask to see the visual standard board at the lacing station and a sample pair from each production run before bulk packing. These are cheap asks that prevent the most common unboxing complaints.
Cost of Rework vs Cost of Prevention
Reworking lacing is cheap — a few seconds at the station — but catching it at final inspection inside the box is not. Every pair that needs re-lacing has already passed through packing and boxed stock, which means opening boxes, reworking, and re-packing. And the pair that slips through entirely becomes a return, a review, or a lost repeat order. The prevention is almost free: a written spec, a visual standard, and thirty seconds of QC attention per pair.
From Factory Floor to Customer’s Feet — Display & First Wear
Why Some Brands Re-Lace for Store Display
Many brands receive shoes laced for transit and re-lace them for the store floor. Transit lacing protects the lace and the upper; display lacing sells the shoe. If you are sourcing for a retail program, decide whether your factory should ship display-ready lacing or whether your retail partners will re-lace. The decision belongs in the spec — otherwise you will pay for display-quality lacing and still get transit-quality presentation, or vice versa.
Consumer Re-Lacing Expectations
Whatever the factory does, most consumers will re-lace the shoe the first time they wear it. Your factory lacing is a first impression, not a permanent installation. But the first impression still matters: it sets the tone for the whole unboxing, and it models how the shoe is “supposed” to look. A brand that ships a beautifully straight-barred Oxford teaches the customer the intended aesthetic before they ever touch the laces.
Packaging Considerations: Loose Laces vs Pre-Laced
Pre-laced shoes need packaging that protects the laces and the eyelet area — tissue or a lace shield to prevent kinks and scuffs. Unlaced shoes need a way to keep the laces tidy and accounted for in the box, often folded with the spare laces or tucked into the shoe. Talk to your factory about both: the lacing spec and the packaging spec are two halves of the same unboxing experience.
Factory Lacing Done Right — How XuFan Footwear Handles the Details
The lacing standard is the kind of detail that separates a commodity factory from a partner. At XuFan Footwear, lacing is part of the finishing specification for every order — pattern, tension, and shipping state agreed in advance, a visual sample approved before bulk production, and lacing included in final inspection checks.
XuFan Footwear (Jing County XuFan Footwear Co., Ltd.) has manufactured shoes from our Anhui, China facility since 2014. We operate an 8,023-square-meter factory with 2–3 production lines and an annual capacity of 1,200,000 pairs, serving European and Japanese brands. We are BSCI and ISO certified, and our OEM/ODM capability covers full-grain leather uppers, waxed cotton laces, custom branding, and packaging design — so the laces, the lacing, and the box all arrive on spec. MOQ is 500–1,000 pairs per style.
If you are sourcing footwear and want a partner who treats the last ten seconds of production as seriously as the first ten years of craftsmanship, we would be glad to talk. Visit xufanshoes.com or email info@xufanshoes.com.
Sources & Further Reading
- Wikipedia: Shoelaces — Construction, materials, length, and lacing methods
- Wikipedia: Aglet — The history and machine production of lace tips
- Wikipedia: Shoemaking — From handcraft to industrial shoemaking
- Ian’s Shoelace Site: Shoelace Construction — Tubular braiding machines, materials, and aglet processes
- Ian’s Shoelace Site: Straight Bar Lacing — Step-by-step tutorial with length requirements
- Ian’s Shoelace Site: Criss Cross Lacing — Including the factory variation and its manufacturing history
- Ian’s Shoelace Site: Shoelace Lengths — Approximate and accurate length calculations by eyelet count
- The Shoelace Factory — Custom shoelaces made on 1800s braiding machines